Moon lamp
A lunar lamp: sphere diameter, wall thickness, bulb-cavity clearance, a manifold mesh, and lit and unlit renders with simulated light.
This is a CAD spec on Spekkr, published by onyx. It is listed with the other specs. Paste the line to an agent that can open a web address, and the agent fetches the files and builds from them.
- Spec
onyx/moon-lamp- Version
- 0.2.0
- Published by
- onyx
- Updated
- 14 Nov 2026
Build this spec
Build the spec at https://spekkr.com/onyx/moon-lamp/start.md.
Paste this to your AI agent. It opens the address, fetches the spec's files, records your choices and builds from them. Nothing to install, no account.
Published by onyx.
What does the result look like?
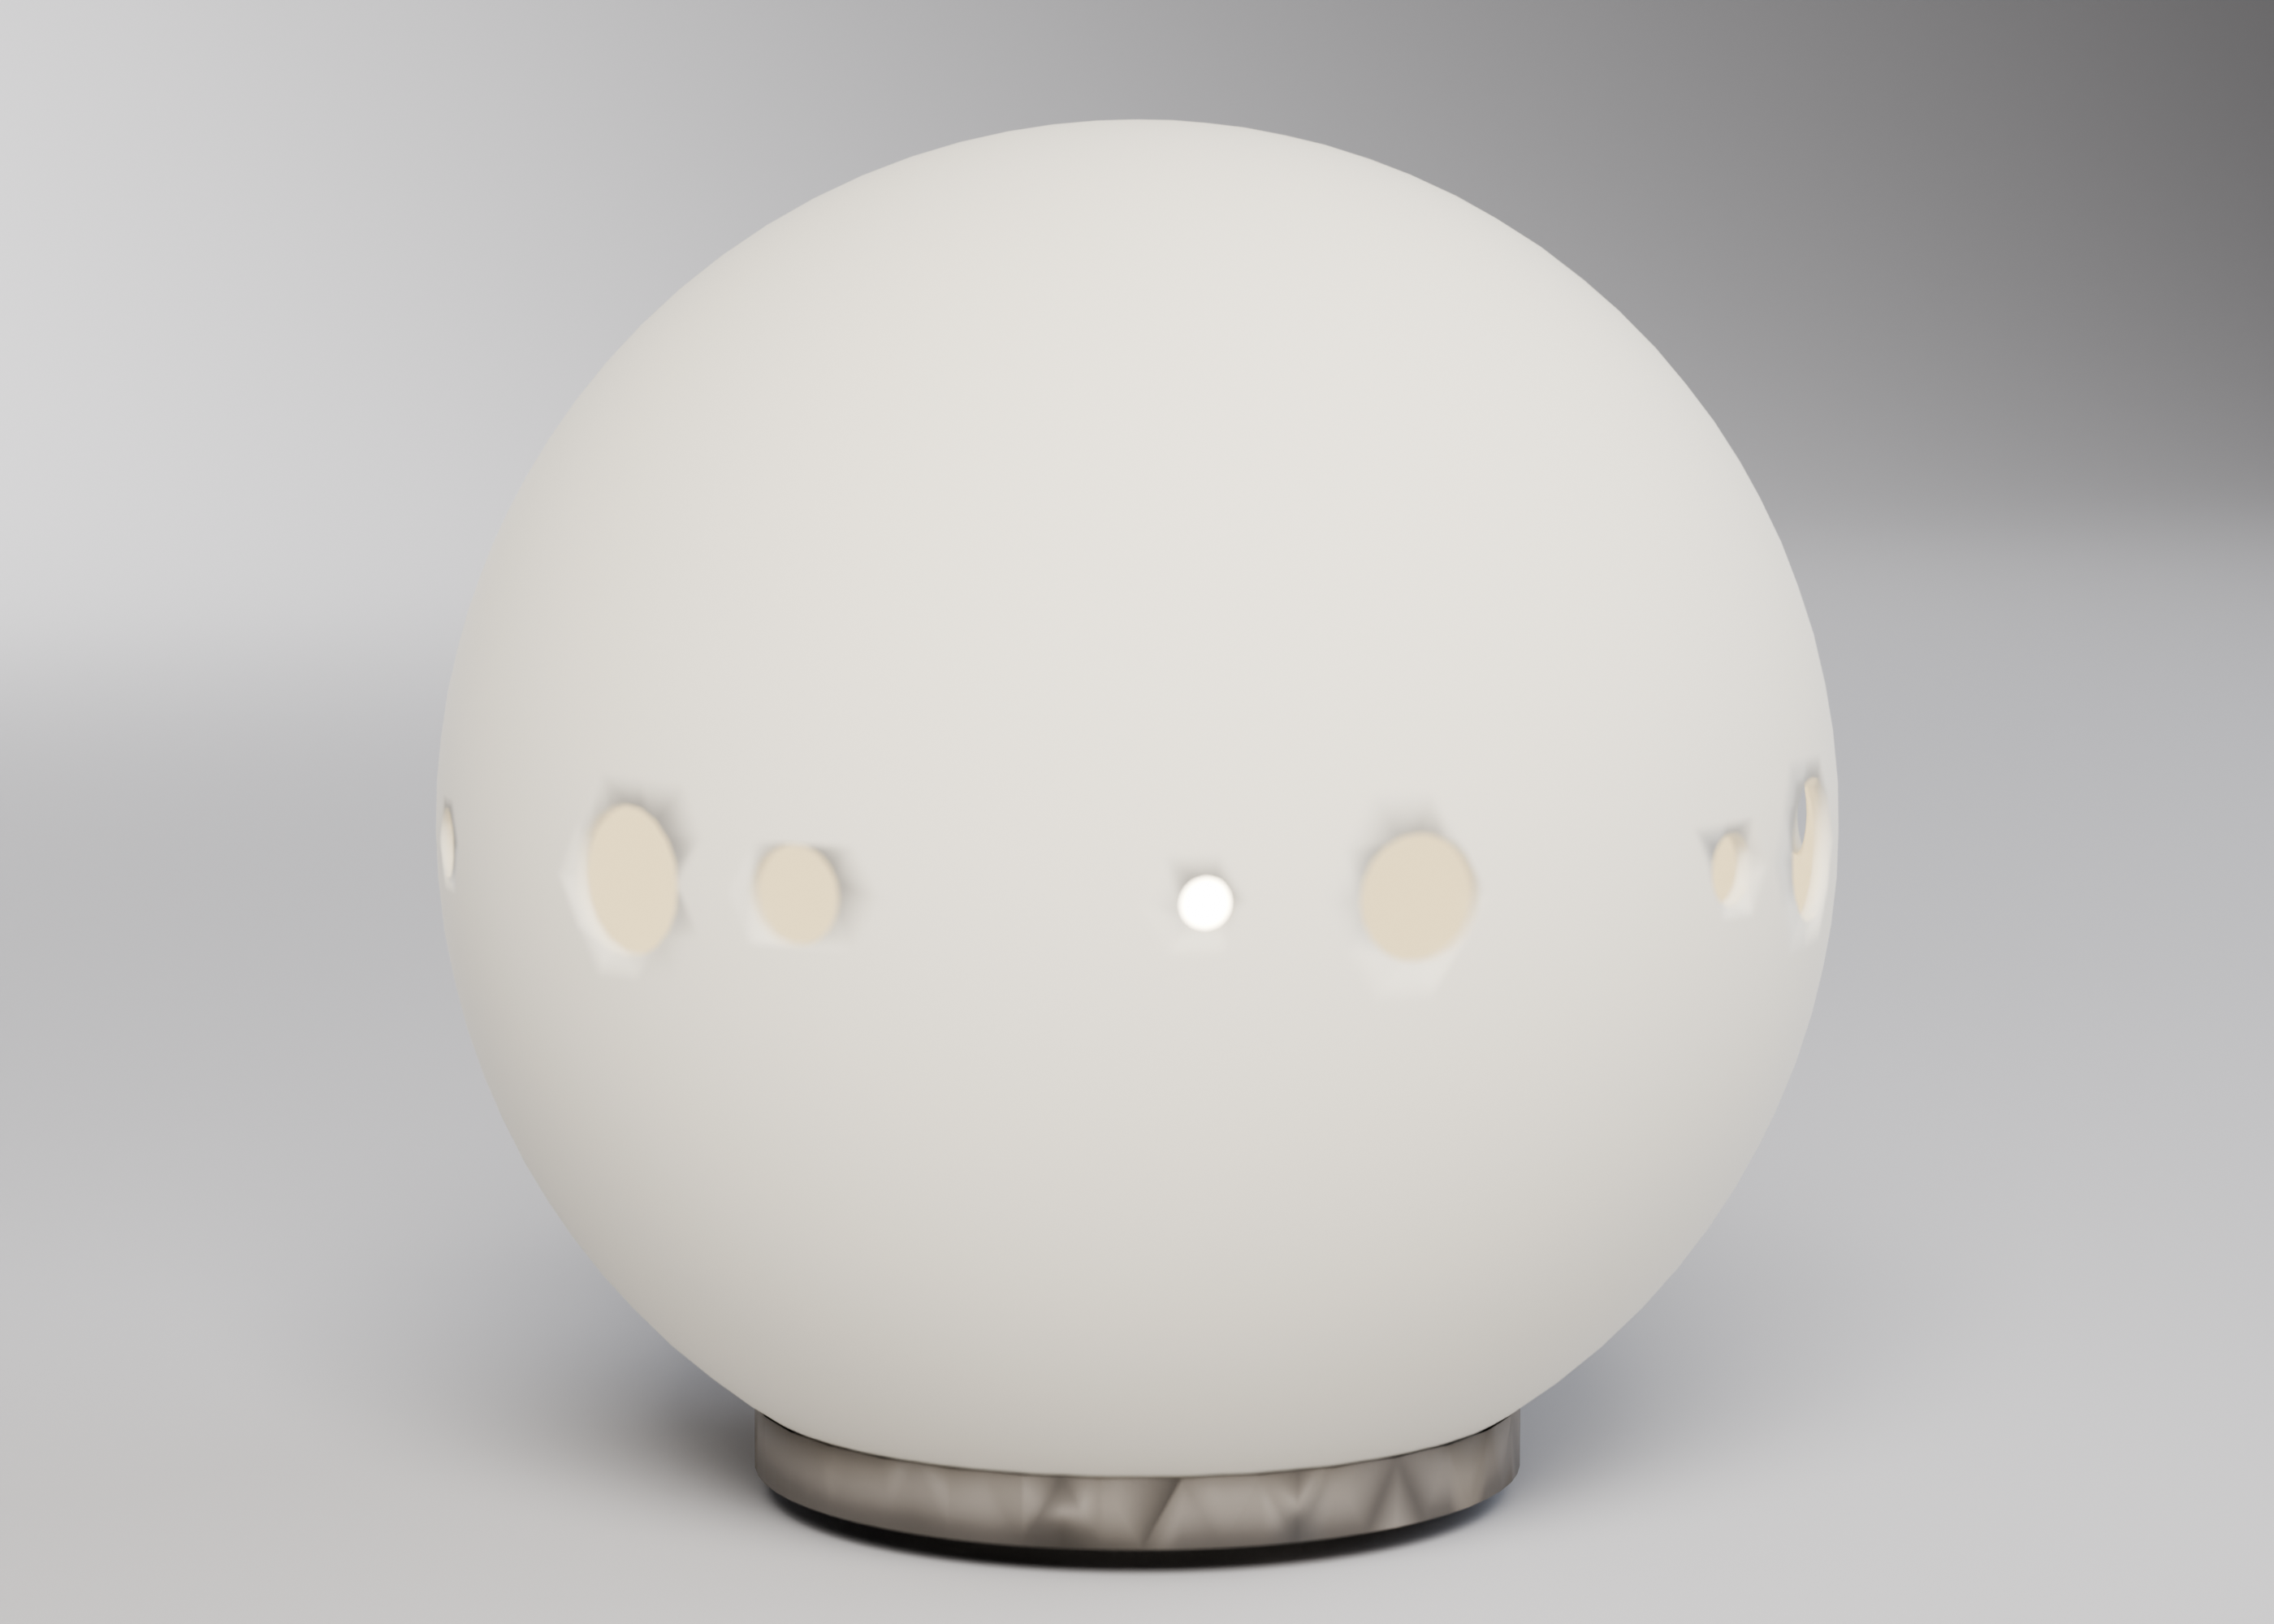
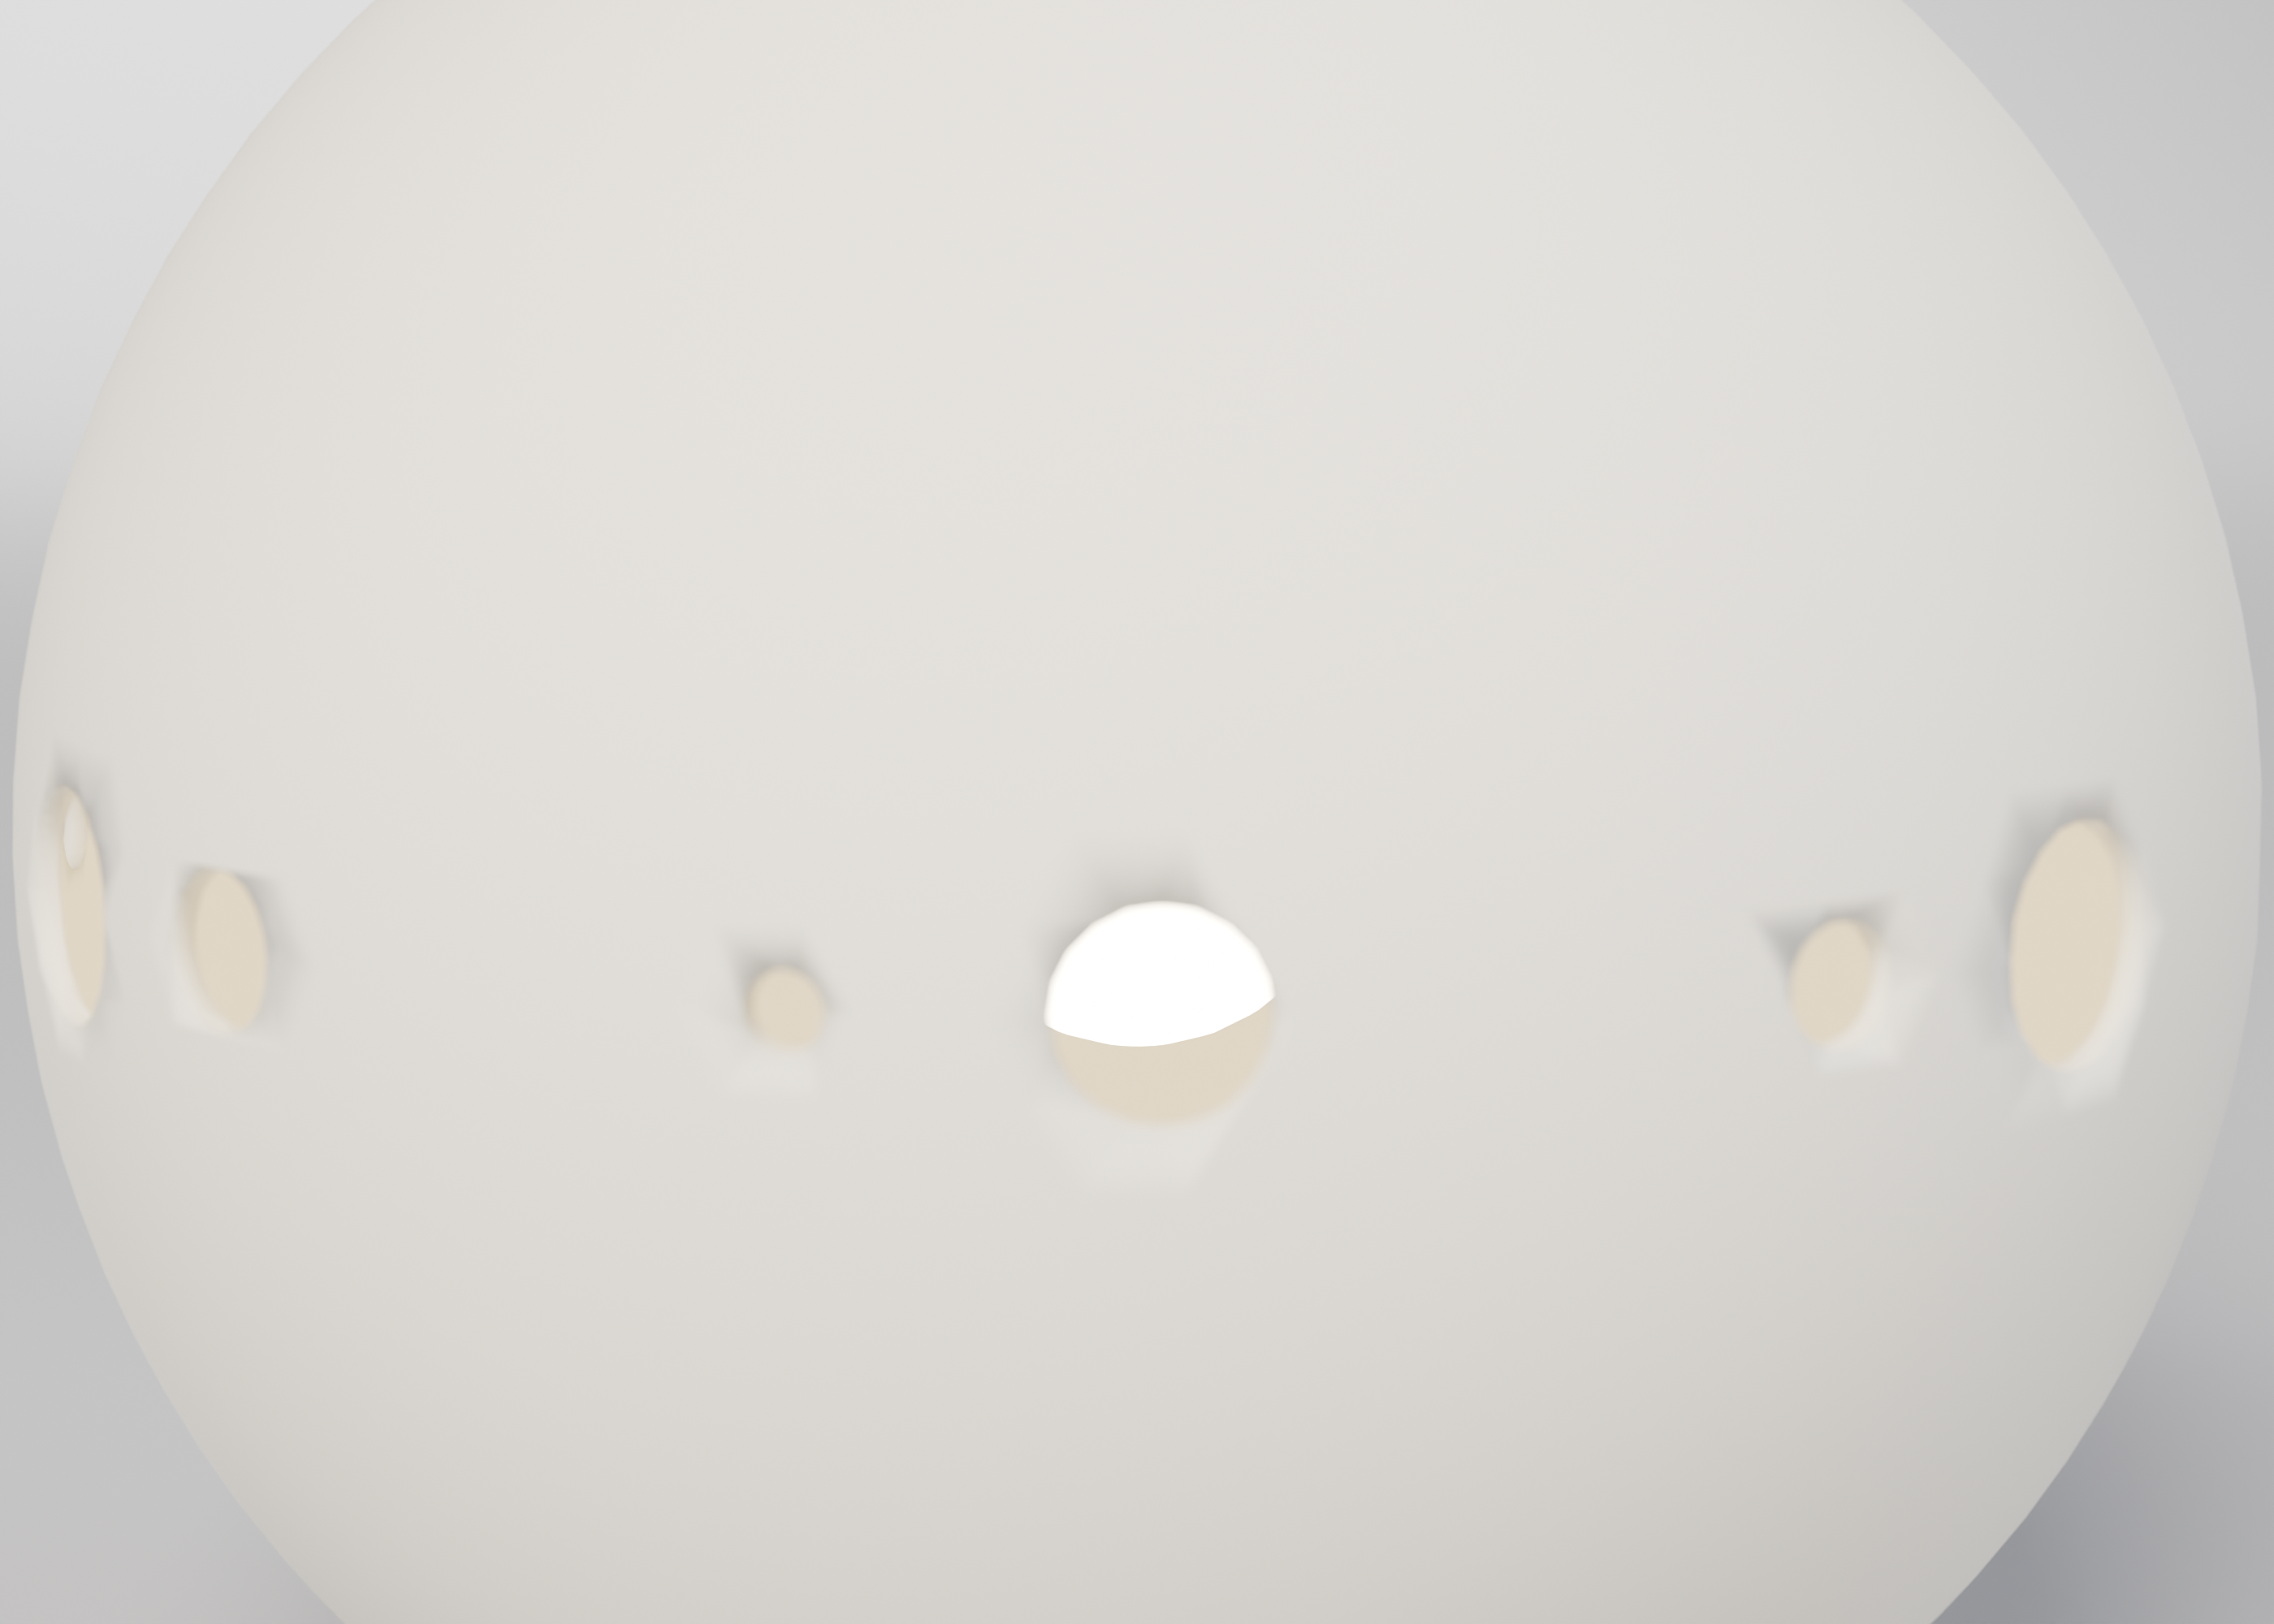
What can I customize?
Your choices go into the line you copy. Anything else is yours to edit, but it leaves the tested path.
What do I get?
-
spec.mdRequirements and acceptance checks.Moon lamp
What this builds
A hollow sphere, like a small moon, with a cavity for a bulb or an LED module, modelled as code. Diameter, wall thickness, and cavity clearance are measured. The mesh is manifold. Lit and unlit renders use a simulated light; a physical bulb is not required. Relief, if on, is an original shallow pattern, not a copyrighted map.
Read
spekkr.inputs.jsonfirst.diameterandwallsize the shell.socketis the cavity.reliefandstandadd features.toolis the modeller.Out of scope
- A mains-voltage safety certification, or a real bulb in the checks.
- A copyrighted planetary texture.
- A physical print or a shop listing.
Requirements
Each requirement has an id. Checks name the id they cover.
R1. Shell and cavity
- The outside diameter is
diameterwithin 0.1 mm. The wall iswallwithin 0.1 mm, on a section through the equator away from the socket. - The cavity is a cylinder (or a documented socket) of diameter
socketplus 0.3 mm clearance, depth indesign.md, and it does not break the wall thinner than 1.2 mm at the neck. - The mesh is watertight. If
standis on, the sphere sits in the ring with a 0.4 mm radial clearance and no overlap.
Accept when: diameter, wall, cavity, neck, and stand clearance match, and the mesh is manifold.
R2. Renders and files
- An unlit render, a lit render with a simulated point or area light in the cavity, a section, and the stand.
- The lit render is a simulation; no physical lamp is used. One command builds, measures, and writes the renders. No print.
Accept when: the command passes for both tools, and the four renders are written.
R3. Inputs
- Numeric inputs are read from
spekkr.inputs.jsonand must stay inside the ranges in the Inputs table indesign.md. - A value outside a range is refused before modelling, with a message that names the key.
- Options add or remove the features in that table. The
toolswap selects CadQuery or OpenSCAD; both must meet the same numbers.
Accept when: default and one out-of-range value are handled as above, and a second legal input set still matches the formulas in
design.md.R4. Checks and report
- One command builds the model at the defaults and at the person's inputs, measures it against
design.md, and writes a short report. - A model broken on purpose, for example a wall thinner than
wall, must fail the report. - The command exports the files this spec asks for (STL, and STEP when the tool can). No physical print is required.
Accept when: the report says pass at the defaults and at the person's inputs, and fail on a deliberately broken model.
Verification
Sphere diameter, wall thickness, and fixture or bulb cavity clearance are measured on the mesh. The mesh is manifold. Lit and unlit renders use simulated light. No physical print and no real bulb are required. Relief, if any, is original.
Definition of done
- Every acceptance check above runs from one command, and all pass at the person's inputs.
- A README says how to export, how the cavity is meant to be used, and that lighting is simulated in the checks.
# Moon lamp

## What this builds

A hollow sphere, like a small moon, with a cavity for a bulb or an LED
module, modelled as code. Diameter, wall thickness, and cavity clearance
are measured. The mesh is manifold. Lit and unlit renders use a simulated
light; a physical bulb is not required. Relief, if on, is an original
shallow pattern, not a copyrighted map.

Read `spekkr.inputs.json` first. `diameter` and `wall` size the shell.
`socket` is the cavity. `relief` and `stand` add features. `tool` is the
modeller.

## Out of scope

- A mains-voltage safety certification, or a real bulb in the checks.
- A copyrighted planetary texture.
- A physical print or a shop listing.

## Requirements

Each requirement has an id. Checks name the id they cover.

### R1. Shell and cavity

- The outside diameter is `diameter` within 0.1 mm. The wall is `wall`
  within 0.1 mm, on a section through the equator away from the socket.
- The cavity is a cylinder (or a documented socket) of diameter `socket`
  plus 0.3 mm clearance, depth in `design.md`, and it does not break the
  wall thinner than 1.2 mm at the neck.
- The mesh is watertight. If `stand` is on, the sphere sits in the ring
  with a 0.4 mm radial clearance and no overlap.

Accept when: diameter, wall, cavity, neck, and stand clearance match, and
the mesh is manifold.

### R2. Renders and files

- An unlit render, a lit render with a simulated point or area light in
  the cavity, a section, and the stand.
- The lit render is a simulation; no physical lamp is used. One command
  builds, measures, and writes the renders. No print.

Accept when: the command passes for both tools, and the four renders are
written.

### R3. Inputs

- Numeric inputs are read from `spekkr.inputs.json` and must stay inside
  the ranges in the Inputs table in `design.md`.
- A value outside a range is refused before modelling, with a message that
  names the key.
- Options add or remove the features in that table. The `tool` swap
  selects CadQuery or OpenSCAD; both must meet the same numbers.

Accept when: default and one out-of-range value are handled as above, and
a second legal input set still matches the formulas in `design.md`.

### R4. Checks and report

- One command builds the model at the defaults and at the person's inputs,
  measures it against `design.md`, and writes a short report.
- A model broken on purpose, for example a wall thinner than `wall`, must
  fail the report.
- The command exports the files this spec asks for (STL, and STEP when the
  tool can). No physical print is required.

Accept when: the report says pass at the defaults and at the person's
inputs, and fail on a deliberately broken model.

## Verification

Sphere diameter, wall thickness, and fixture or bulb cavity clearance are
measured on the mesh. The mesh is manifold. Lit and unlit renders use
simulated light. No physical print and no real bulb are required. Relief,
if any, is original.

## Definition of done

- Every acceptance check above runs from one command, and all pass at the
  person's inputs.
- A README says how to export, how the cavity is meant to be used, and
  that lighting is simulated in the checks.
-
design.mdDiameter, wall, socket clearance, and simulated lit renders.Design
This file fixes the geometry. How the model's code is organised is up to you, as long as the numbers here hold.
Cavity
Depth
diameter * 0.35, opening at the south pole, with a 1.2 mm minimum neck. Relief amplitude, if on, is 1.2 mm, from an original height field in the repo, not a third-party map.Light
A simulated light at the cavity centre, intensity and camera in
fixtures/moon-render.json.Inputs
Key Label Default Notes diameterSphere diameter, mm 180 From 80 to 280, the outside of the moon. wallWall thickness, mm 2.2 From 1.4 to 4. socketSocket diameter, mm 28 The bulb cavity, from 20 to 40. reliefA shallow relief on A documented crater-like relief, not a copyrighted texture. standA ring stand on A separate ring the sphere sits in. toolModelling tool cadquery CadQuery writes STEP and STL. OpenSCAD writes STL. Acceptance at the defaults
Millimetres. Default sphere diameter 180, shell wall 2.0, relief on, ring stand on.
Quantity Value Tolerance Source Outer diameter 180.00 0.20 Of the sphere Shell wall 2.00 0.10 Almost everywhere Relief depth 1.20 0.10 When reliefis on, original cratersLight well diameter 40.00 0.20 Opening opposite the stand Ring stand inner diameter 80.00 0.20 The sphere sits in it The relief is an original crater pattern, not a copyrighted lunar texture. The two parts (shell and stand) are separate STLs. Print position: shell open-face down, stand on its ring.
Screenshots
These pictures are headless OpenSCAD renders of the reference model in
reference/model.scad, at the default inputs. They are not drawings of a product that has not been modelled. The first picture is the one Spekkr shows on the spec's card. A build may ship its own goldens; those goldens are of that build and do not have to match these frames pixel-for-pixel.File What it shows shots/shell.pngShell 180 mm, original crater relief shots/assembly.pngShell in a 80 mm ring stand How to verify
- Build the model at the default inputs and at two other legal input sets.
- Measure every row of the acceptance table in this file; each must fall inside its tolerance. Use the solid itself or a mesh library on the exported STL, as
design.mdsays for the chosen tool. - Refuse at least one out-of-range input by name before modelling.
- Confirm each exported part is a manifold, watertight mesh, and that walls and print orientation hold where this file asks.
- Sphere diameter, wall thickness, and fixture or bulb cavity clearance are measured on the mesh. The mesh is manifold. Lit and unlit renders use simulated light. No physical print and no real bulb are required. Relief, if any, is original.
# Design

This file fixes the geometry. How the model's code is organised is up to
you, as long as the numbers here hold.

## Cavity

Depth `diameter * 0.35`, opening at the south pole, with a 1.2 mm minimum
neck. Relief amplitude, if on, is 1.2 mm, from an original height field in
the repo, not a third-party map.

## Light

A simulated light at the cavity centre, intensity and camera in
`fixtures/moon-render.json`.

## Inputs

| Key | Label | Default | Notes |
| --- | --- | --- | --- |
| `diameter` | Sphere diameter, mm | 180 | From 80 to 280, the outside of the moon. |
| `wall` | Wall thickness, mm | 2.2 | From 1.4 to 4. |
| `socket` | Socket diameter, mm | 28 | The bulb cavity, from 20 to 40. |
| `relief` | A shallow relief | on | A documented crater-like relief, not a copyrighted texture. |
| `stand` | A ring stand | on | A separate ring the sphere sits in. |
| `tool` | Modelling tool | cadquery | CadQuery writes STEP and STL. OpenSCAD writes STL. |

## Acceptance at the defaults

Millimetres. Default sphere diameter 180, shell wall 2.0, relief on, ring
stand on.

| Quantity | Value | Tolerance | Source |
| --- | --- | --- | --- |
| Outer diameter | 180.00 | 0.20 | Of the sphere |
| Shell wall | 2.00 | 0.10 | Almost everywhere |
| Relief depth | 1.20 | 0.10 | When `relief` is on, original craters |
| Light well diameter | 40.00 | 0.20 | Opening opposite the stand |
| Ring stand inner diameter | 80.00 | 0.20 | The sphere sits in it |

The relief is an original crater pattern, not a copyrighted lunar texture.
The two parts (shell and stand) are separate STLs. Print position: shell
open-face down, stand on its ring.

## Screenshots

These pictures are headless OpenSCAD renders of the reference model in
`reference/model.scad`, at the default inputs. They are not drawings of a
product that has not been modelled. The first picture is the one Spekkr
shows on the spec's card. A build may ship its own goldens; those goldens
are of that build and do not have to match these frames pixel-for-pixel.

| File | What it shows |
| --- | --- |
| `shots/shell.png` | Shell  180 mm, original crater relief |
| `shots/assembly.png` | Shell in a 80 mm ring stand |


## How to verify

1. Build the model at the default inputs and at two other legal input
sets.

2. Measure every row of the acceptance table in this file; each must fall
inside its tolerance. Use the solid itself or a mesh library on the
exported STL, as `design.md` says for the chosen tool.

3. Refuse at least one out-of-range input by name before modelling.

4. Confirm each exported part is a manifold, watertight mesh, and that
walls and print orientation hold where this file asks.

5. Sphere diameter, wall thickness, and fixture or bulb cavity clearance
are measured on the mesh. The mesh is manifold. Lit and unlit renders use
simulated light. No physical print and no real bulb are required. Relief,
if any, is original.
-
tasks.mdBuild tasks in order, each with a check.Tasks
Work in order. Finish a task's check before starting the next.
- Set up. Install the tool in the
toolinput (CadQuery or OpenSCAD) and a mesh library for the checks. Readspekkr.inputs.jsoninto one place at the top of the model. Check: an empty or trivial model is written and read back, and the inputs are visible in that source. - Shell and cavity (R1). Build what
R1. Shell and cavityasks for, to the numbers indesign.md. In particular: The outside diameter isdiameterwithin 0.1 mm. The wall iswallwithin 0.1 mm, on a section through the equator away from the socket. Check: theR1. Shell and cavityacceptance checks pass. - Renders and files (R2). Build what
R2. Renders and filesasks for, to the numbers indesign.md. In particular: An unlit render, a lit render with a simulated point or area light in the cavity, a section, and the stand. Check: theR2. Renders and filesacceptance checks pass. - Inputs (R3). Build what
R3. Inputsasks for, to the numbers indesign.md. In particular: Numeric inputs are read fromspekkr.inputs.jsonand must stay inside the ranges in the Inputs table indesign.md. Check: theR3. Inputsacceptance checks pass. - Checks and report (R4). Build what
R4. Checks and reportasks for, to the numbers indesign.md. In particular: One command builds the model at the defaults and at the person's inputs, measures it againstdesign.md, and writes a short report. Check: theR4. Checks and reportacceptance checks pass. - Goldens and the report. Render the documented views of the default model. Run the one-command report at the defaults, at the person's inputs, and at one more legal set. Check: the report says pass throughout, and the rendered views are written next to the model.
- Finish. Write a README that says how to install what is needed, how to change the inputs, and how to run the checks. Run the one command from a clean folder. Check: every item under Definition of done in
spec.mdis true.
# Tasks

Work in order. Finish a task's check before starting the next.

1. **Set up.** Install the tool in the `tool` input (CadQuery or OpenSCAD)
and a mesh library for the checks. Read `spekkr.inputs.json` into one
place at the top of the model.
   Check: an empty or trivial model is written and read back, and the
inputs are visible in that source.

2. **Shell and cavity (R1).** Build what `R1. Shell and cavity` asks for,
to the numbers in `design.md`. In particular: The outside diameter is
`diameter` within 0.1 mm. The wall is `wall` within 0.1 mm, on a section
through the equator away from the socket.
   Check: the `R1. Shell and cavity` acceptance checks pass.

3. **Renders and files (R2).** Build what `R2. Renders and files` asks
for, to the numbers in `design.md`. In particular: An unlit render, a lit
render with a simulated point or area light in the cavity, a section, and
the stand.
   Check: the `R2. Renders and files` acceptance checks pass.

4. **Inputs (R3).** Build what `R3. Inputs` asks for, to the numbers in
`design.md`. In particular: Numeric inputs are read from
`spekkr.inputs.json` and must stay inside the ranges in the Inputs table
in `design.md`.
   Check: the `R3. Inputs` acceptance checks pass.

5. **Checks and report (R4).** Build what `R4. Checks and report` asks
for, to the numbers in `design.md`. In particular: One command builds the
model at the defaults and at the person's inputs, measures it against
`design.md`, and writes a short report.
   Check: the `R4. Checks and report` acceptance checks pass.

6. **Goldens and the report.** Render the documented views of the default
model. Run the one-command report at the defaults, at the person's inputs,
and at one more legal set.
   Check: the report says pass throughout, and the rendered views are
written next to the model.

7. **Finish.** Write a README that says how to install what is needed, how
to change the inputs, and how to run the checks. Run the one command from
a clean folder.
   Check: every item under Definition of done in `spec.md` is true.
- Set up. Install the tool in the
-
reference/model.scadA parametric OpenSCAD reference of the default model, used to make the listing pictures. A build may use CadQuery or OpenSCAD and does not have to start from this file. -
shots/hero.pngStudio hero of the default model. -
shots/detail.pngCloser studio still of a joint, pocket, or surface.
Is it for me?
- Kind
- CAD
- Tools
- CadQuery, OpenSCAD
What does it need?
- Agent permissions
- shell
- Commands it runs
install CadQuery or OpenSCAD, whichever the tool input namesinstall a mesh library, such as trimesh
What changed?
- 0.2.014 Nov 2026Studio product shots from a shared Cycles rig (cyclorama, PLA materials), including a short loop when present.
- 0.1.014 Nov 2026First version.
For agents: start.md says how to build this spec, spec.json holds everything on this page, and bundle.tar.gz holds its files.